
RC5-Fernbedienung steuert drei LEDs
von Gerd Sinning
Elektronik-Labor
Projekte
AVR
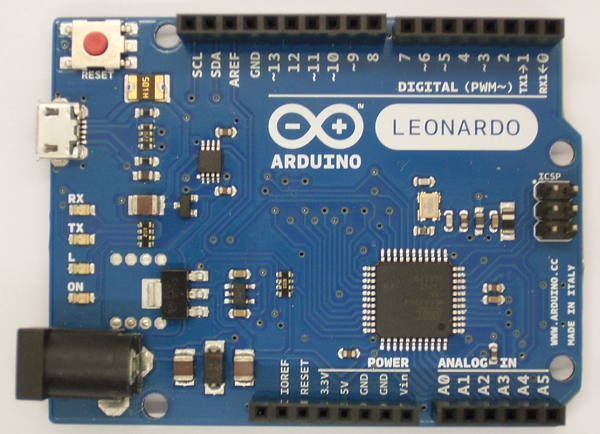
Eine Infrarot Fernbedienung steuert drei LEDs bequem vom
Sessel. Im Baumarkt gibt es sowas, aber mit Arduino und einem kleinen Programm
geht es auch. Dazu braucht man eine Fernbedienung, die RC5-Code sendet und den
IR-Empfänger z.B. an pin 7 des Arduino. Ein Problem kann es sein, die richtige
Fernbedienung zu finden, die meisten Hersteller verwenden heute eine eigene
Kodierung. So stört man sich dann auch nicht. Das Programm schaltet die drei
LEDs einzeln ein oder aus oder alle gleichzeitig an oder aus. Ein Transistor
könnte auch Relais schalten. Mit #define debug sieht man auf der seriellen
Verbindung die gesendeten Daten &toggle, &address, &command, so kann
man testen, ob was empfangen wird und kann das Programm auch einfach erweitern
und noch mehr schalten. Recycle your remote.
Download: RC5Leds.zip
/*
  switch 3 Leds on or off with RC5 IR remote

  Led1 on pin 4, command 1 is on, command 4 is off
  Led2 on pin 5, command 2 is on, command 5 is off
  Led3 on pin 6, command 3 is on, command 6 is off
  command 8: all Leds on
  command 0: all Leds off

  GS 2014-4

  This is free software; you can redistribute it and/or
  modify it under the terms of the GNU Lesser General Public
  License as published by the Free Software Foundation; either
  version 2.1 of the License, or (at your option) any later version.

  This program is distributed in the hope that it will be useful,
  but WITHOUT ANY WARRANTY; without even the implied warranty of
  MERCHANTABILITY or FITNESS FOR A PARTICULAR PURPOSE.  See the GNU
  Lesser General Public License for more details.

* Wiring notes:
*
* Using IR sensor like this:
* http://www.adafruit.com/products/157
* wired as follows:
* pin1 - arduino pin 7
* pin2 - ground
* pin3 - 5V
*
* This code will display address, command and toggle for decoded sequences.
* Pressing the power button twice gives this result:
* a:0 c:12 t:0 <- first press, a:0 => TV1, c:12 => Standby command.
* a:0 c:12 t:0
* a:0 c:12 t:0
* a:0 c:12 t:1 <- second press, toggle changes
* a:0 c:12 t:1
*
*/
#define debug       //to see &toggle, &address, &command

#include <RC5.h>
int IR_PIN = 7;    //define the IR decoder input on Arduino
int Led1 = 4;      //and the Leds
int Led2 = 5;
int Led3 = 6;

RC5 rc5(IR_PIN);

void setup() {
  pinMode(Led1, OUTPUT);
  pinMode(Led2, OUTPUT);
  pinMode(Led3, OUTPUT);
  pinMode(13, OUTPUT);
  digitalWrite(Led1, LOW);
  digitalWrite(Led2, LOW);
  digitalWrite(Led3, LOW);
  digitalWrite(13, LOW);
  Serial.begin(9600);
  Serial.println("control Leds RC5");
}

void loop()
{
  unsigned char toggle;
  unsigned char address;
  unsigned char command;
  if (rc5.read(&toggle, &address, &command))
  {

 #if defined(debug)
    Serial.print("add:");
    Serial.print(address);
    Serial.print(" cmd:");
    Serial.print(command);
    Serial.print(" tog:");
    Serial.println(toggle);
 #endif
  digitalWrite(13, toggle ? HIGH : LOW);    //blink onboard Led

  switch (command) {
  case 1:    // Led1
      Serial.println("Led1 on ");
      digitalWrite(Led1, HIGH);
    break;
  case 2:    // Led2
      Serial.println("Led2 on ");
      digitalWrite(Led2, HIGH);
    break;
  case 3:    // Led3
      Serial.println("Led3 on ");
      digitalWrite(Led3, HIGH);
    break;
  case 4:    // Led1
      Serial.println("Led1 off ");
      digitalWrite(Led1, LOW);
    break;
  case 5:    // Led2
      Serial.println("Led2 off ");
      digitalWrite(Led2, LOW);
    break;
  case 6:    // Led3
      Serial.println("Led3 off ");
      digitalWrite(Led3, LOW);
    break;
  case 8:    // all Leds on
      Serial.println("all Leds on ");
      digitalWrite(Led1, HIGH);
      digitalWrite(Led2, HIGH);
      digitalWrite(Led3, HIGH);
    break;
   case 0:    // all Leds off
      Serial.println("all Leds off ");
      digitalWrite(Led1, LOW);
      digitalWrite(Led2, LOW);
      digitalWrite(Led3, LOW);
    break;
 }

 }

}
Elektronik-Labor
Projekte
AVR