Taschenbuch: https://www.amazon.de/dp/B0FSX8GRMB
Ebook: https://www.amazon.de/dp/B0FSSR48GT
Software-Download (update31.10.25): CH32V003projekte.zip
English Edition
Elektronik-Labor
Projekte
Mikrocontroller PicoBasic
Inhalt
1 Der Einstieg 1
1.1 Das Starter-Kit 1
1.2 Programmierung mit der Arduino-IDE 3
1.3 Arbeiten mit dem Breadboard 4
2 Das MounRiver Studio 9
2.1 Programmbeispiele 9
2.2 Projekt-Dateien 11
2.3 Serielle Übertragung 14
2.4 Zahlenwerte empfangen 17
3 GPIO-Ports 20
3.1 Blinker an PC0 20
3.2 Verkürzte GPIO Initialisierung 21
3.3 Geschwindigkeitstest 25
3.4 Messung von Kapazitäten 26
4 RCC, Reset und Clock Control 28
4.1 Reset ein/aus 28
4.2 Software-Reset 30
4.3 Quarz oder RC-Oszillator 32
4.4 Auf RC-Oszillator umschalten 34
4.5 Quarzoszillator einschalten 36
5 Der AD-Wandler 40
5.1 Einzelmessungen 40
5.2 500 kHz DSO mit DMA 43
5.3 Widerstandsmessung 46
5.4 Der Operationsverstärker 48
6 Timer und Counter 50
6.1 Frequenzzähler 50
6.2 Zähler bis 24 MHz 52
6.3 PWM-Ausgabe 54
6.4 Rechteck-Signalgenerator 56
6.5 DDS-Generator 58
7 PicoBasic und TestLab 63
7.1 PWM-Kanäle und Remapping 63
7.2 Der PicoBasic-Interpreter 67
7.3 Programme oder Daten empfangen 72
7.4 Quarz oder RC-Oszillator 75
7.5 Die Reset-Funktion 76
7.6 Direktkommandos 77
8 PicoBasic-Funktionserweiterungen 81
8.1 Gosub 240 bis 255 81
8.2 Zwei DDS-Generatoren 83
8.3 Rechteck-Signalgeneratoren 84
9 Spezialfunktionen des CH32V003 86
9.1 Daten speichern 86
9.2 GPIO-Initialisierung 89
9.3 Der Operationsverstärker 90
9.4 Widerstandsmessung 90
9.5 Kapazitätsmessung 91
9.6 DMA-Messungen 93
9.7 Zweikanal- ADC/DMA 95
9.8 Frequenzmessung 97
9.9 Reset aktivieren 101
9.10 Den Quarztakt aktivieren 102
10 Experimente und Messungen 104
10.1 Oszillator-Umschaltung 104
10.2 Reset-Eingänge 108
10.3 Einsatz des Operationsverstärkers 112
10.4 Lastströme am Port 114
10.5 Sound-Effekte 118
10.6 Amplituden-Modulation 120
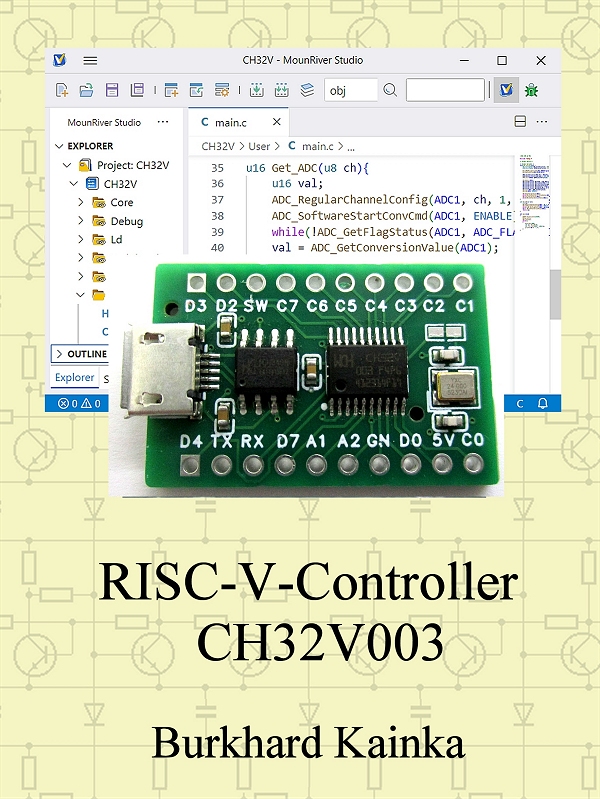
Englisch Edition: RISC-V Controller CH32V003
Foreword
RISC controllers
such as the numerous AVR models have been around for a long time. But recently,
the new RISC-V (RISC-five) has been added to the mix. One of the smallest
representatives is the CH32V003 from WCH, a full-fledged 32-bit controller with
interesting features and an extremely low price. This book is
intended to help you get started. I will report on difficulties that have
arisen and their solutions. Many small sample projects will help you learn how
to program this device.At the end,
there is a larger project that combines many of the possibilities. It is an
adaptation of the TestLab with integrated PicoBasic, which is already used on
other controllers. However, the CH32V003 opens up new possibilities and higher
speeds. Here, the small controller can show what it can do.
CONTENTS
1 Getting started 1
1.1 The starter kit 1
1.2 Programming with the Arduino IDE 3
1.3 Working with the breadboard 4
2 MounRiver Studio 9
2.1 Program examples 9
2.2 Project files 11
2.3 Serial transmission 14
2.4 Receiving numerical values 17
3 GPIO ports 20
3.1 Flashing light on PC0 20
3.2 Shortened GPIO initialization 21
3.3 Speed test 25
3.4 Measurement of Capacitances 26
4 RCC, Reset, and Clock Control 28
4.1 Reset on/off 28
4.2 Software reset 30
4.3 Quartz or RC oscillator 31
4.4 Switching to RC oscillator 34
4.5 Switching on the crystal oscillator 36
5 The AD converter 40
5.1 Single conversions 40
5.2 500 kHz DSO with DMA 43
5.3 Resistance measurement 46
5.4 The Operational Amplifier 48
6 Timers and counters 50
6.1 Frequency counter 50
6.2 Counter up to 24 MHz 52
6.3 PWM output 54
6.4 Square wave signal generator 56
6.5 DDS generator 58
7 PicoBasic and TestLab 63
7.1 PWM channels and remapping 63
7.2 The PicoBasic interpreter 67
7.3 Receiving programs or data 72
7.4 Quartz or RC oscillator 75
7.5 The reset function 76
7.6 Direct commands 77
8 PicoBasic function extensions 80
8.1 Gosub 240 to 255 80
8.2 Two DDS generators 82
8.3 Square wave signal generators 83
9 Special functions of the CH32V003 85
9.1 Saving data 85
9.2 GPIO Initialization 88
9.3 Internal Operational Amplifier 89
9.4 Ohmmeter 89
9.5 Capacitance measurement 90
9.6 DMA measurements 92
9.7 Two-channel ADC/DMA 94
9.8 Frequency measurement 96
9.9 Activating reset 100
9.10 Switch on the quartz clock 100
10 Experiments and measurements 102
10.1 Oscillator switching 102
10.2 Reset inputs 107
10.3 Use of the operational amplifier 110
10.4 Load currents at the port 112
10.5 Sound effects 116
10.6 Amplitude modulation 118